Creating a beautiful and smooth sales process will drastically increase your rate of moving products and attracting new buyers. This tutorial will explore the tools we provide to help you create perfectly optimized listings.
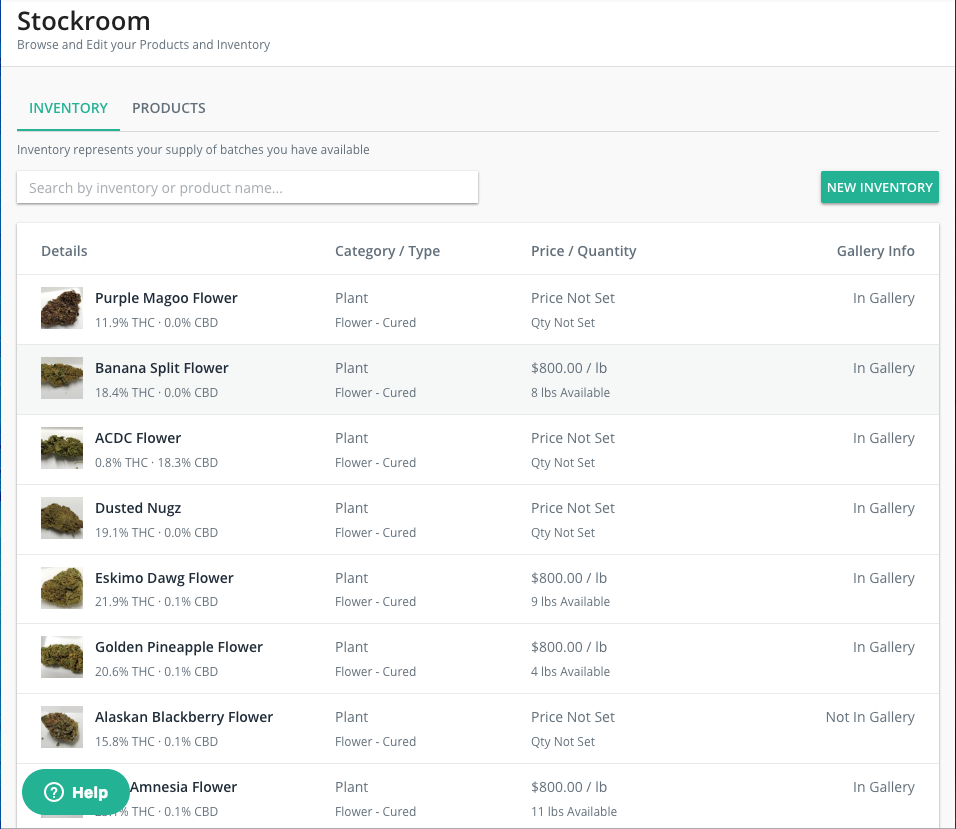
If you’re a producer who tests with a Confident Cannabis Lab, all of your lab tested inventory from the last two months will automatically be added to the Inventory of your Stockroom.
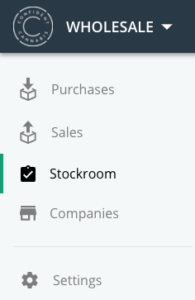
You can navigate to the stockroom regularly using the link in the main menu (shown above).
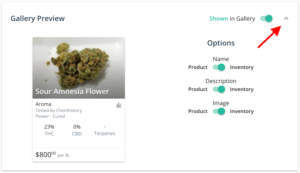
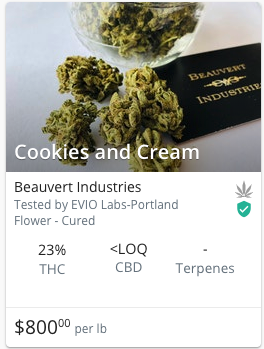
Be sure to edit all inventory items to prepare them for listing in the Gallery. Use the Gallery Preview drop-down on the Edit Inventory screen to see how your items will display publicly.
Consider updating the existing lab photos with branded images of your inventory for increased visibility!
Product vs. Inventory
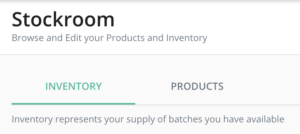
Your stockroom is divided into Inventory / Products. Think about it like Products on the shelf and Inventory in storage.
Products represent the items you have available, of which you may have many batches in your Inventory.
Inventory represents the batches of products that you have available overall.
Vendors will find your Products in the Gallery and initiate an order for a number of batches based on the availability in your Inventory.
Setup Inventory in your Stockroom
In preparation for listing on the Gallery, change the photo, name, description, and other details of your inventory. Go to your Stockroom using the navigation menu. You’ll see a list of existing inventory on the default Inventory tab. Select an item to edit it (shown above).
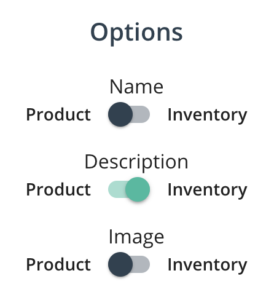
Clicking the Gallery Preview drop-down on the Edit Inventory screen shows a preview of your item in Gallery. The toggle switches allow you to use either Inventory or Product information.
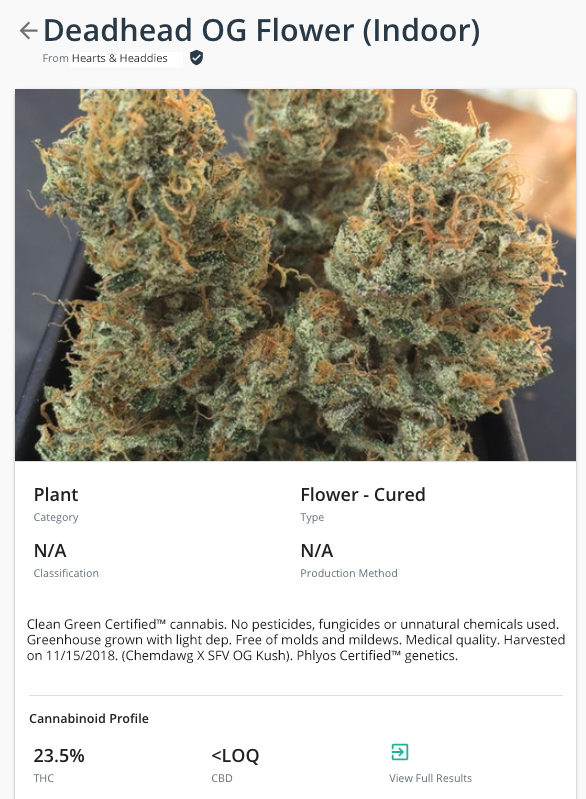
Labs will take photos of your inventory when they do their testing, which are the default photos included in your listing. Most often, these pics are not the best representation of your product. When editing inventory, upload photos of each item to catch the wandering eye of browsing buyers. Feel free to use any (business appropriate) photo that best represents your inventory.
Pro Tip: Include a logo or set your product photos to have your packaging visible for additional brand presence. Be advised, adding your contact info here is not allowed in Gallery.
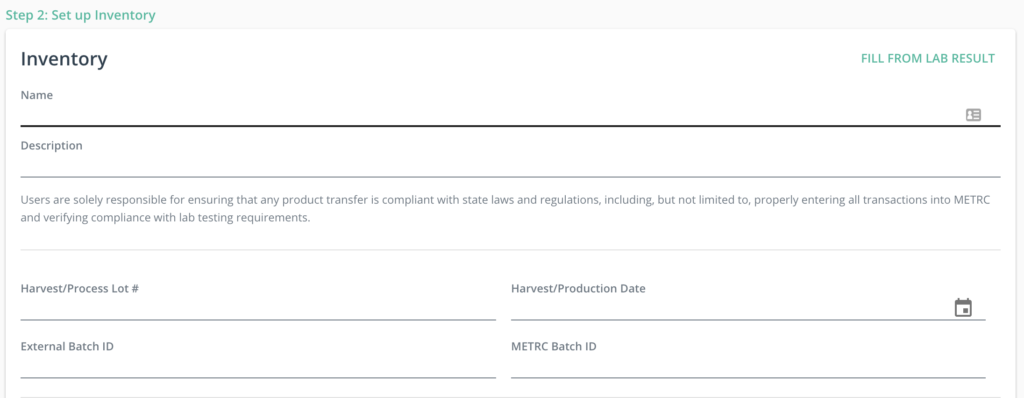
You can choose what text you want to include in the Name and Description sections of each product. This is an excellent opportunity to be overly descriptive; proclaim the virtues of your brand, and include pertinent information for the buyers to make quick choices.
Usually, the default lab name for the product isn’t the best way to list your product to buyers. If you’d like the information associated with your listing to be Inventory specific, come up with a creative and informative way to name and describe your product and ensure the toggle switches in Gallery Preview are set to Inventory, and not Product.
Pro Tip: Give Products the best possible photos, names, and descriptions that efficiently represent batches of Inventory you regularly produce. When you have new inventory items, rather than edit each individually, associate all product-level edits to your inventory items.
If you scroll through the Gallery, you’ll find different methods producers and cultivators use in naming their products. Here are a couple of ideas:
- Add your production method to the name
“Cherry Pie – Indoor” or “Grape Krush BHO Shatter” - Differentiate between product types in the name
Listing multiple grades of flower: A Buds – Sour Tangie / Trim – Sour Tangie
For concentrates: Live Resin – Strawberry Cough, or Distillate / Bulk Oil – Strawberry Cough
Include all of the information possible about your brand and products in the Description field (shown above). This is a great place to list certifications, like Clean Green and Phylos Certified, or more info about your production methods. Also, include information regarding the genetics and chemistry on the product if possible. Even team history and experience is helpful!
There are many options here to experiment with and discover what works best to increase your sales. If you don’t find immediate success after grooming your listings, try a new way of talking about your products or hire a local photographer to take some new product shots.
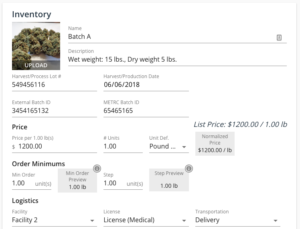
Double check the Harvest, Batch, and METRC information to make sure it’s accurate and filled in from the lab result. If you didn’t have inventory already populated, or if you didn’t create an inventory using “Fill From Lab Result,” you will want to complete these fields. It will create more value for your potential buyers.
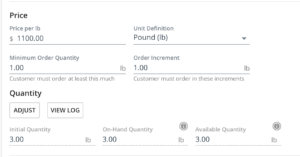
The Price & Quantity section comes next, and are also critical. The fewer questions a buyer raises when looking at your inventory, the more likely they are to act quickly. Having information on your prices and available quantities will help buyers know essential information before reaching out to you … making it more likely that they do.
Remember! These prices and quantities are not final. They merely begin a negotiation, and there is a psychology of sales at play. Experiment with what strategy works best for you. Just know that we see more orders placed on priced listings than on unpriced ones.
- Unit Type
How is your product counted? Weight, like bulk flower and oil, or per Unit when your products are counted by boxes, cans, carts, etc. - Price per
Set the price per weight or unit ($1,000/lb or $500/box) - Unit Definition
If using Weight Based Units, this allows you to change the weight your inventory is priced by (pound, ounce, gram). - Minimum Order Quantity
Set the least amount of inventory they can order at a time. If you don’t ever sell less than a pound or 2 boxes at a time, setting this prevents buyers from requesting smaller quantities. - Order Increment
If you prefer to sell in specific size increments, you can also set a limit to how much customers can increase their order per unit. - Initial Quantity
Set the amount you have when you create this inventory item. If this was auto-filled by lab result, and the amount you have to sell is less than listed, you can change your initial quantity here. Later, if you have salespeople filling orders on this inventory item, you can change the amount of “on-hand” product, so the public quantity listed is what is available for sale only.
Then we have the Logistics section. This can be left blank or filled in as you see fit…
If you have Facilities listed in your account, you’ll see that option available in the drop-down. This is useful if you have a drop-off or pick-up location that you will use for the order.
You can designate the associated License, like Adult Use or Medical as well.
Also, set your Transportation options using the drop-down. Fulfillment partners will be shown here if you’d like to use a 3rd party distributor on Confident Cannabis, or you can select your own Transportation option.
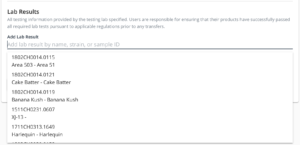
Lastly, you can associate lab results with your item if it hasn’t already populated from lab results. Click the field to see a drop-down of all your available lab results you can associate with your inventory item.
Take care to only associate lab results with your products that match. All vendors can access lab tests from any product; if they don’t match, a buyer is much less likely to trust you.
Some products have multiple lab test results, so you can select additional results to associate with the item, and set whichever one you like to primary.
Click Create or Save when finished…
Now, go take a much-deserved break!

